
Today I'm blogging about how I created my Tortoise's head! Here's a picture of him with a bike helmet on.

Firstly, to get an idea of what I wanted to do, I created a test sculpt whilst I was in the pre production stages of my idea. Here is a very basic sculpt in Sculpey. Once I did this, I went about sculpting the final.
I created a balsa wood core (to help with the weight) and then firstly started with the eyes.

To create the eyes, I sculpted the two shapes I wanted in Sculpey, baked it in the oven, sanded it and the suspended it on the top of a plastic syringe. I then encased that in silicone and I then had a mould! WOO
I poured plastic resin in said mould, and it came out like these above!

I then sprayed a lacquer on top of the eyes to make them shiny! The eyes were put under a heat lamp to set.

SO HOT.

This is how they came out!

I also did the same with the teeth. I sculpted, baked, sanded, suspended, made a silicone mould and then poured in plastic resin.
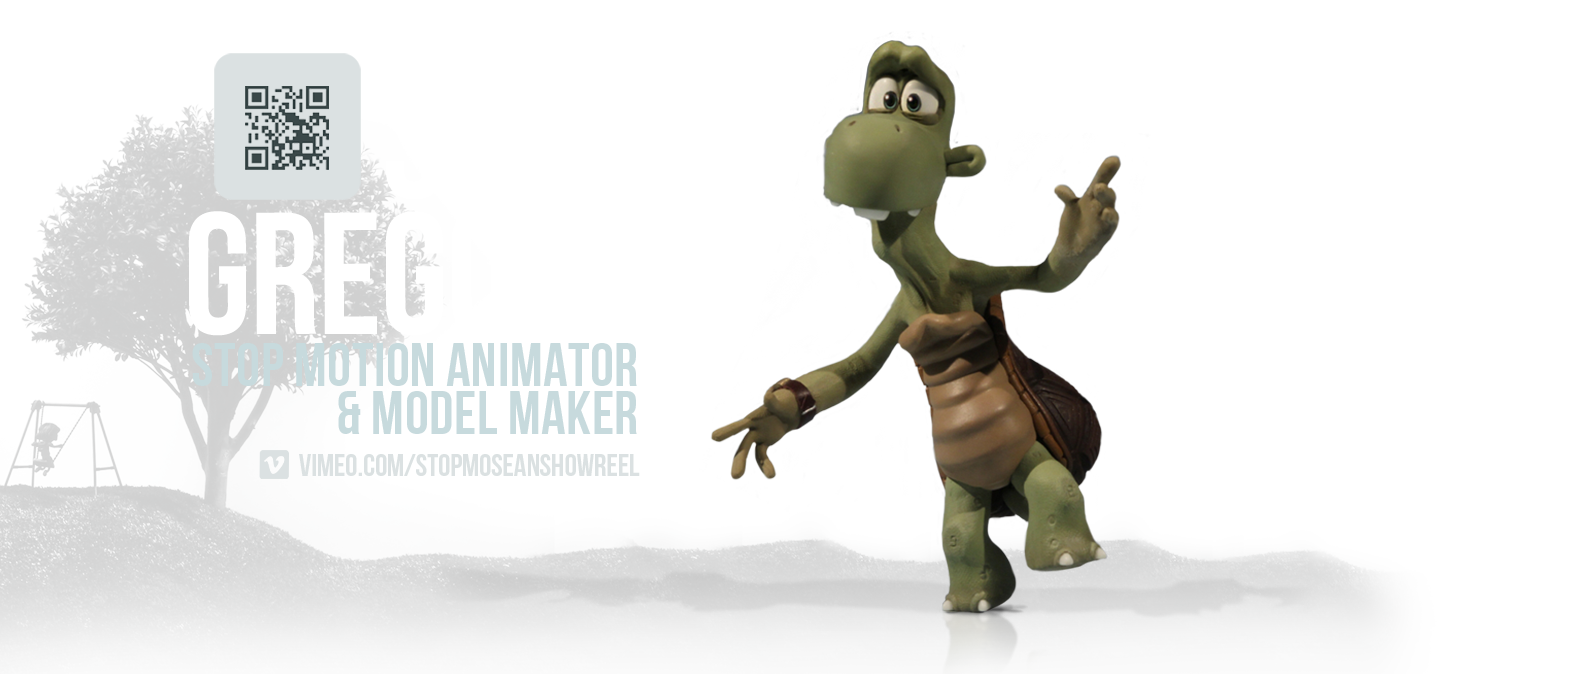
Here's the final outcome in the Tortoises' head.

I also created a little mouth to stick on the side of the face, this was made by creating a plaster mould of some rounded K&S . Here it is below...

Looks a bit worn out! But basically, I placed an armature inside, with some silicone and they came out like you see below!

I then sculpted the final head with a mixture of different colours of Sculpey, Premo and Fimo.
Everything but the brow has been baked in the oven.
So the brow is unbaked sculpey feathered onto the top of the baked sculpt. (This is done so I can animate expressions!)
Here's the final look! This is taken from one of the close ups in my student film.

HOPE YOU ENJOYED THIS POST!
Here's today's picture of Buster…
 |
| I call it: 'Did you sey bisckits?' |
No comments:
Post a Comment