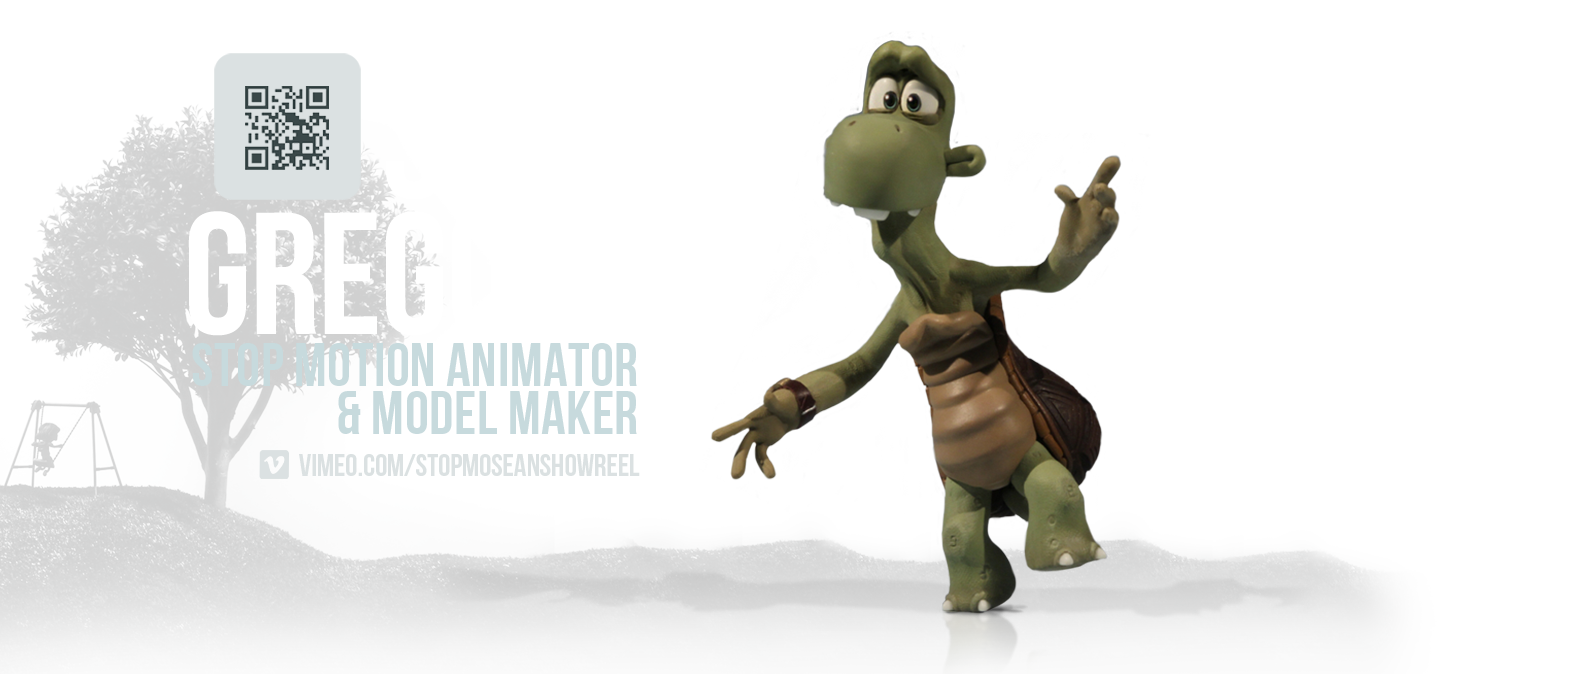

This week I've been designing and constructing my armature for uni. To the left is a digital armature plan I created, It was my first digital version I've ever done for any of my puppets as up until now I've just used hand drawn designs.
It was nice doing it on the computer as, with the guidelines on photoshop, I could get the front view and side view one hundred percent correct to eachother
As my scene is 14 seconds (with an extra 3 added on for something at the end) there are a lot of replaceable joints, just
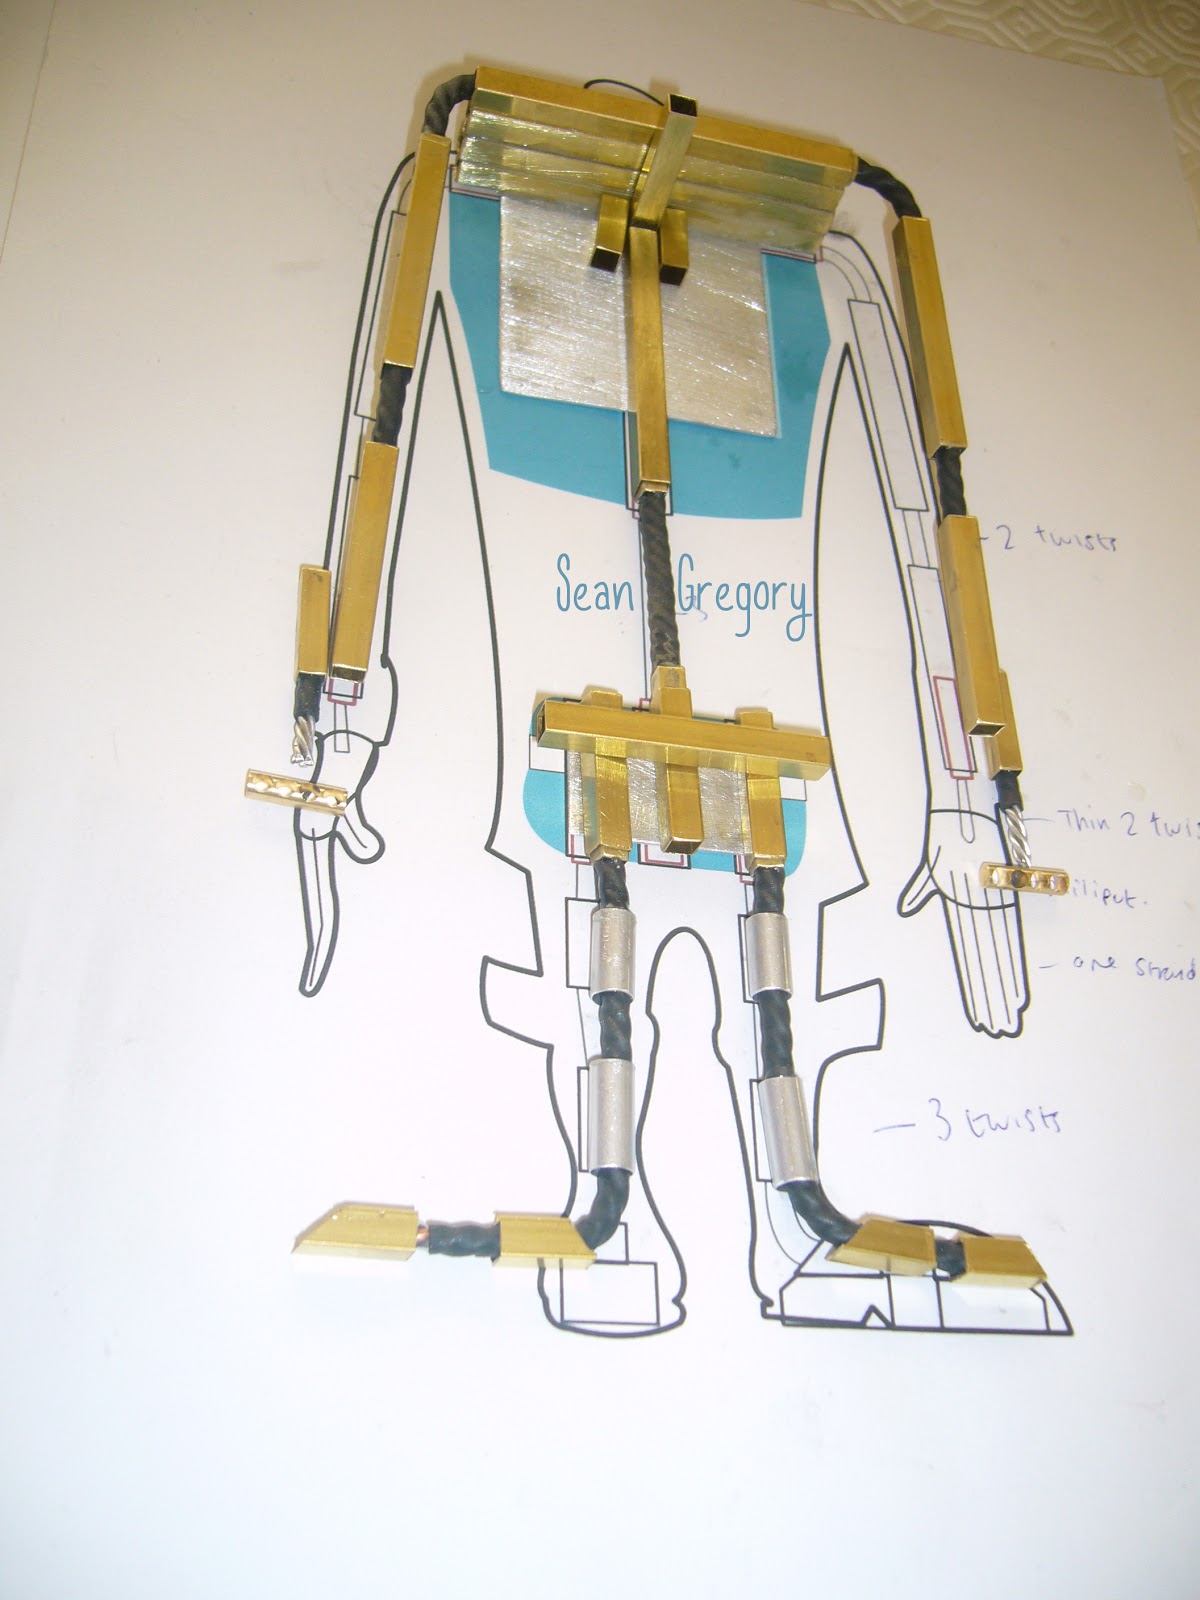
 incase things break
About 12 years later...
all the K&S, chest piece and hip piece was cut and filed, wire twisted and heat shrink wrapped.
Putting all my plans on the table!
 |
| Here, I was just getting everything ready to glue together, measuring up things to the plan, You might realise that he has nothing for his feet to hold him down, this is because I have ordered some magnetic blocks from a lovely site named Malvern Armatures: http://www.malvern-armatures.co.uk and I was waiting for the post man to bring me my treats! |
 |
| Gluing the parts together with a two part epoxy glue so its nice and strong! |
 |
| Set of three files used to smooth out the K&S and the glue ready and waiting. |
 |
| Close up of the unglued parts. |
No comments:
Post a Comment